
Pruning
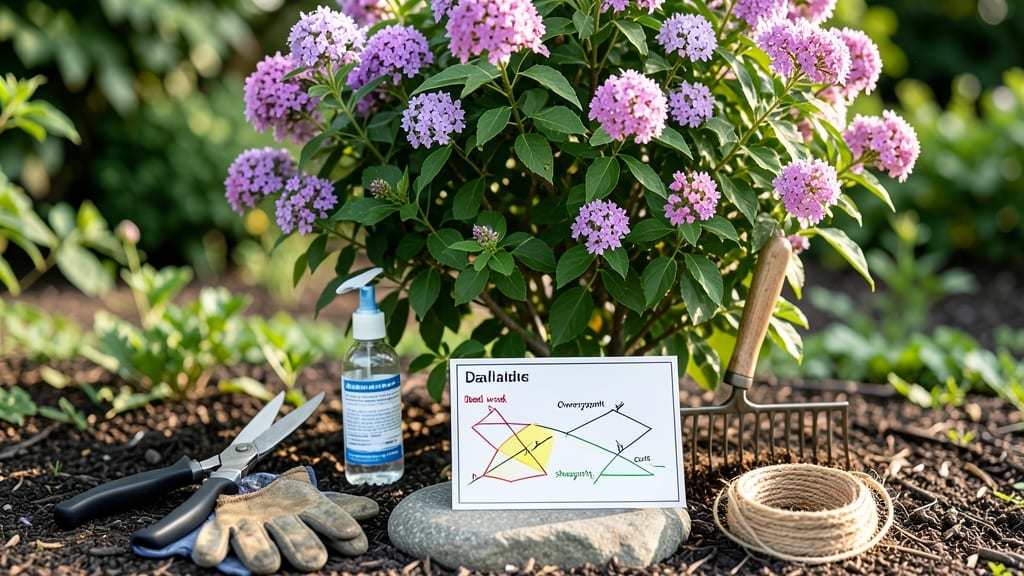
This butterfly bush pruning guide turns a wild, leggy mess into a bushier, blooming powerhouse—and I’ll show you exactly how to do it without guessing. 🌿 The key is timing: late winter or right after flowers fade, never in late summer. One wrong cut can ruin next year’s blooms, but the right approach gives you longer stems, more flowers, and healthier growth every season.
You’ll need just three tools: sharp pruners (clean and sharp is critical), gloves (those tiny hairs can irritate skin), and a bucket for clippings. Start by removing dead or diseased branches—they’re easy to spot, often brown or mushy inside.
Then cut back last year’s growth by one-third to encourage fresh, vigorous shoots. For older bushes, rejuvenation pruning (cutting back to 12–18 inches) works wonders after three years.
After pruning, your bush will look like a sad skeleton—but within 4–6 weeks, new growth explodes from those cuts. Water deeply to help recovery, and avoid heavy fertilizer right away.
The payoff? Double the blooms next season, with stems strong enough to support butterflies without flopping. Just skip late-summer cuts—they trigger weak, late-season growth that freezes before winter.
This method works for all Buddleia varieties, from dwarf types to giant hybrids. Whether you’re shaping a single bush or a whole hedge, the same rules apply. Ready to transform that tangled mess into a butterfly magnet? Let’s get those shears out.
📚 In This Guide
- What you need
- Instructions
- Tips and common mistakes
- Wrapping up and next steps
What you need
- ● Pruning shears: Bypass pruners (sharp, clean blades, 5–7 inches) for clean cuts on small stems.
- ● Loppers: Bypass or anvil type (8–12 inches) for thicker branches (½–1 inch in diameter).
- ● Hand pruners: Anvil-style (for stubborn, woody stems if bypass shears aren’t available).
- ● Garden gloves: Heavy-duty, cut-resistant (to protect hands from thorns and sap).
- ● Disinfectant: Rubbing alcohol (70%+) or bleach solution (1:9 water ratio) (to sterilize tools between cuts and prevent disease).
- ○ Pruning sealant (optional): Tree wound paint or beeswax (for large cuts > ½ inch; controversial but useful in some climates).
- ● Bucket or bag: For collecting pruned branches (to dispose of or compost later).
- ● Ladder or step stool: Sturdy, 6–8 feet tall (if your butterfly bush is over 5 feet).
- ● Timing: Prune on a dry, overcast day (avoid wet or windy conditions to reduce stress on the plant).
- ● Weather check: Ensure temperatures are above 50°F (10°C) to prevent shock.
- ● Safety gear: Sunglasses and long sleeves (to shield from sap and debris).
- ● Plant health assessment: Inspect the bush for diseased or dead branches (remove these first!).
- ● Sharp tools: Hone blades before pruning (dull tools crush stems, inviting pests).
- ● Extension pole saw: For high-reaching branches (if no ladder is available).
- ● String or twine: To mark future pruning points (for complex shaping).
- ● Compost bin: For recycling pruned material (if disease-free).
- ● Camera or sketchbook: To document the bush’s structure before pruning (helpful for beginners!).
Step-by-Step butterfly bush pruning guide for year-round blooms
Here's how to transform your butterfly bush into a lush, flower-packed powerhouse with just a few precise cuts.
✂️ Step 1: Prune After First Bloom to Encourage Reblooming
Right after your butterfly bush finishes its first flush of flowers, grab your pruners and cut back each stem to just above a set of healthy leaves or buds. This signals the plant to redirect energy into new growth rather than seed production. I like to make clean cuts at a 45-degree angle about ¼ inch above the bud—this prevents water from pooling on the stem and causing rot.
Focus on removing 1/3 of the oldest stems first. These are usually thicker and less flexible, and they’ve already contributed their share of blooms. You’ll see fresh green shoots emerging within 2-3 weeks—that’s your plant’s way of saying, "Thanks for the wake-up call!" If you’re unsure which stems are oldest, look for the ones with fewer leaves or more woody texture.
✂️ Step 2: Thin Out Crowded Branches in Late Summer
By mid-to-late August, your butterfly bush will be putting on new growth. This is the perfect time to thin out any branches that are rubbing against each other or growing inward. Snip these at the base where they emerge from the main stem. You’re aiming for an open, airy structure that lets sunlight and air circulate freely—this prevents fungal diseases and encourages more blooms next season.
Real talk: Don’t go overboard here. You want to maintain the bush’s natural shape, not turn it into a bare skeleton. A good rule of thumb is to remove no more than 20% of the plant’s total branches in this step. If you’re unsure, step back and take a photo first—you’ll spot the obvious culprits immediately.
✂️ Step 3: Perform a Rejuvenation Cut in Early Spring
When new growth appears in early spring, it’s time for a more aggressive prune if your bush has gotten leggy or woody. Cut back 1/3 to 1/2 of the oldest stems to just a few inches above the ground. This might sound drastic, but butterfly bushes are tough—they’ll bounce back with vigorous new shoots. I’ve seen bushes that looked half-dead after this prune explode with double the blooms by summer.
Here’s the thing—if you’ve skipped pruning for a few years, don’t try to fix it all at once. Spread the rejuvenation over 2-3 years, taking out a third of the oldest stems each spring. You’ll avoid shocking the plant while still getting that bushy, blooming machine you want. Water deeply after pruning to help the plant recover.
✂️ Step 4: Clean Up Dead or Diseased Wood Anytime
Throughout the year, keep an eye out for branches that are dead, diseased, or damaged. These are easy to spot—they’re brown, brittle, or oozing sap. Snip these out immediately using sterilized pruners (wipe them with rubbing alcohol between cuts). You’re not just tidying up; you’re preventing problems from spreading to healthy wood.
I also remove any suckers—those weak, thin shoots sprouting at the base of the plant. They drain energy from your main bush. Grab them at the base with your fingers or pruners and pull them out completely. If you see powdery mildew or other fungal signs, prune in dry, sunny conditions to help the wounds dry quickly and reduce infection risk.
Tips & tricks for perfect butterfly bush pruning
Here’s how to avoid common mistakes and maximize your butterfly bush’s potential—these tricks will keep it blooming like a pro.
Timing is Everything: In Step 1, when pruning after the first bloom, I can’t stress enough how critical this timing is. The plant needs to finish flowering completely before you cut—otherwise, you’ll remove potential buds. Watch for spent blooms (they’ll turn brown and crisp) before making your cuts. And here’s a pro move: if you’re late to the party and missed the first bloom, don’t panic—just focus on Step 2’s late summer thinning to encourage new growth for next season.
Precision Cuts Prevent Problems: That 45-degree angle in Step 1 isn’t just for show—it’s about water runoff. Flat cuts pool water, leading to rot. Use sharp pruners (dull blades crush stems) and make clean cuts just above the bud. For Step 3’s rejuvenation cut, I’ve found that cutting to 3-4 inches above ground level gives the best regrowth. Anything shorter risks damaging the plant’s energy reserves.
Visual Cues for Healthy Pruning: In Step 2, when thinning crowded branches, look for these telltale signs: branches rubbing together (they’ll eventually tear the bark), inward-growing stems (they’ll never get sunlight), and stems thinner than a pencil (they’re weak). For Step 4’s cleanup, snap a branch between your fingers—if it snaps cleanly, it’s healthy; if it crumbles, it’s dead wood. This visual check saves you from unnecessary cuts.
Recovery Boost: After any major pruning (especially Step 3’s rejuvenation cut), give your bush a recovery drink. Water deeply for 10-15 minutes—this helps the plant heal and prevents transplant shock. I’ve also noticed that applying a balanced fertilizer (like 10-10-10) a week after pruning gives the new growth a nutrient boost. Just don’t overdo it—the plant’s energy should go to regrowth, not just leaves.
Pro Tips for Butterfly Bush Pruning Guide
- Here’s how to avoid common mistakes and maximize your butterfly bush’s potential—these tricks will keep it blooming l...
- Timing is Everything: In Step 1, when pruning after the first bloom, I can’t stress enough how critical this timing i...
- Precision Cuts Prevent Problems: That 45-degree angle in Step 1 isn’t just for show—it’s about water runoff. Flat cut...
Frequently asked questions
Got questions about keeping your butterfly bush thriving? Here are answers to the most common concerns—so you can prune like a pro!
When is the best time to prune butterfly bushes?
Prune butterfly bushes twice a year: late winter/early spring (before new growth) to shape the plant and remove dead wood, and right after blooming (late summer) to encourage next year’s flowers. Avoid heavy pruning in fall—it can stimulate tender growth that may freeze.
Can I prune butterfly bushes in winter?
Light pruning in mild winters (to remove dead or damaged branches) is fine, but avoid heavy cuts. Cold snaps can stress the plant. Wait until after the last frost for major shaping. If your area has harsh winters, prune only what’s absolutely necessary to avoid encouraging new growth that won’t survive.
Why are my butterfly bushes not blooming after pruning?
Poor blooms often mean wrong pruning timing or over-pruning. Always leave 1/3 to 1/2 of last year’s growth—this is where flower buds form. If your bush is young (<3 years), it may still be establishing roots. Also, check for pests (like spider mites) or nutrient deficiencies (add a balanced fertilizer in spring).
What if I accidentally prune too much?
Don’t panic! Butterfly bushes are tough and fast-growing. If you’ve over-pruned, focus on healthy growth next season: water deeply, fertilize lightly, and avoid pruning again until late summer. Within a year, your bush should bounce back with lush foliage and blooms.
Are there alternatives to butterfly bushes for pollinators?
Yes! If you’re looking for low-maintenance, pollinator-friendly plants, try:
- Butterfly weed (Asclepias tuberosa) – Drought-tolerant and attracts monarchs.
- Coneflower (Echinacea) – Long-blooming and deer-resistant.
- Russian sage (Perovskia) – Hardy and thrives with minimal pruning.
- Milkweed (Asclepias spp.) – Essential for monarch butterflies.
Wrapping up and next steps
Pruning your butterfly bush doesn’t have to be intimidating—with the right timing, tools, and techniques, you’ll unlock vibrant blooms and lush foliage all season long! 🌸 Whether you’re shaping for aesthetics, encouraging new growth, or reviving an overgrown plant, remember: consistency is key.
Start small, observe how your bush responds, and soon you’ll be rewarded with a thriving, butterfly-magnet garden.
Ready to take the next step? Grab your pruners and schedule that first trim—your butterfly bush (and pollinators!) will thank you. For extra inspiration, explore seasonal pruning calendars or join gardening communities to share your progress. Happy pruning!