
Pruning
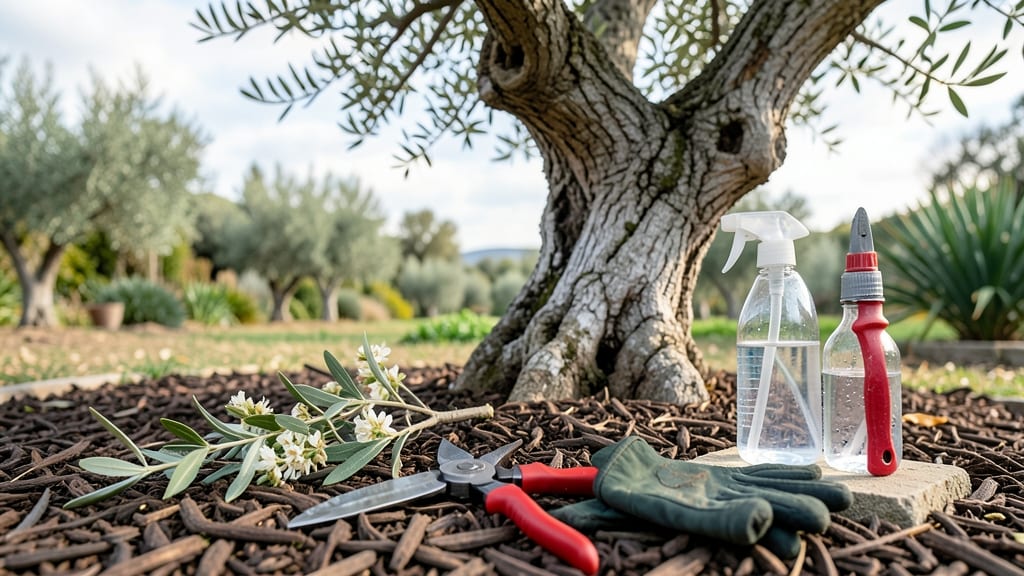
See the before and after olive tree pruning magic—your tangled branches can become a sunlit sculpture with just three precise cuts, transforming a wild mess into a productive, picturesque centerpiece. ✂️ I’ve pruned mine every winter for five years, and the transformation isn’t just about looks: it’s about healthier fruit, better airflow, and a tree that actually fits in your yard.
The key? Timing it right (late winter, before buds swell) and cutting where the energy flows—not where it stagnates.
Start with one-third of the oldest wood—those gnarled branches hogging space. Then shape the canopy by removing crossing limbs (they rub and create wounds) and suckers (those aggressive shoots at the base).
Use clean, sharp pruners and sterilize them between cuts to avoid spreading disease. The goal isn’t perfection; it’s opening the tree up so sunlight and rain reach every leaf and olive.
After pruning, your tree will look skeletal and exposed—but that’s temporary. Within 6-8 weeks, you’ll see new green shoots pushing from the cuts, and by summer, the canopy will fill in denser and stronger than before.
The olives themselves? Bigger, sweeter, and easier to harvest because the tree isn’t fighting for energy with dead wood. Think of it as a reset button for your tree’s growth cycle.
Here’s the secret most gardeners miss: prune in stages if your tree is overgrown. Tackle one-third of the work each year to avoid shocking the tree. And never top it—that stubby, flat look is a pruning crime that invites pests.
With these cuts, your olive tree won’t just survive the process; it’ll thrive for decades, producing fruit and shade like a Mediterranean dream.
📚 In This Guide
- What you need
- Instructions
- Tips and common mistakes
- Wrapping up and next steps
What you need
- ● Pruning shears (bypass or anvil type): Sharp, 6-8" blades for clean cuts on small branches.
- ● Loppers: 18-24" long, for thicker branches (½"–1½" diameter). Bypass lopper recommended for precision.
- ● Pruning saw: 7-10" curved blade for branches thicker than 1½". Look for a non-serrated edge to avoid tearing.
- ● Extension pole pruner: 10-15 ft for high branches—bypass type only to prevent damage.
- ● Disposable gloves: Heavy-duty, cut-resistant (e.g., Mechanix Wear or similar). 2 pairs recommended.
- ● Rubbing alcohol (70% isopropyl): Small bottle for sterilizing tools between cuts.
- ○ Pruning sealant: Optional but helpful for large cuts (>½") to prevent disease. 1 small tube (e.g., Tanglefoot Tree Wound Pruning Seal).
- ● Bucket or tarp: Large enough to collect pruned branches (10+ gallons).
- ● Weather check: Prune on a dry, overcast day or early morning to avoid stressing the tree.
- ● Safety glasses: ANSI-rated to protect against debris.
- ● Long sleeves & pants: Lightweight, breathable fabric to avoid scratches from branches.
- ● Ladder (if needed): Sturdy, 3-section with non-slip feet. 1 helper required for stability.
- ○ Map of the tree: Sketch or notes marking branches to remove (optional but highly recommended for beginners).
Step-by-step guide to olive tree pruning for optimal growth
Here's how to transform your olive tree's structure while preserving its health and productivity.
🌿 Step 1: Assess and Plan Your Pruning Strategy
Start by examining your olive tree's structure from all angles, looking for dead, diseased, or crossing branches that compete for sunlight. I use a small notebook to sketch a quick map of the tree's skeleton—this helps visualize the final shape. Focus on removing no more than 25% of the foliage in one session to avoid stressing the tree.
Look for water sprouts (vigorous vertical shoots) and suckers (growth from the base)—these drain energy from fruit production. Mark these areas with a brightly colored ribbon before making any cuts. The goal is to create an open center that allows sunlight to penetrate to the inner branches, which is crucial for olive trees that need good air circulation to prevent fungal issues.
✂️ Step 2: Make Precision Cuts Using Proper Techniques
Begin with dead or diseased branches—cut these back to the main trunk or a healthy lateral branch using clean, sharp pruning shears. Make cuts just outside the branch collar (the swollen area where the branch meets the trunk) at a 45-degree angle to prevent water from pooling. For branches thicker than ½ inch, use loppers to avoid tearing the bark.
For crossing branches, remove the weaker of the two—this is usually the one growing at a sharper angle or showing signs of disease. I always cut back to a bud or lateral branch rather than leaving a stub, which can invite pests. Remember, olive trees heal slowly, so make cuts as clean as possible to minimize stress.
☀️ Step 3: Shape for Sunlight and Airflow
Step back and visualize how sunlight will move through the tree after pruning. Remove overly dense growth from the interior canopy to improve airflow, which reduces humidity and fungal risks. I like to leave the outer branches slightly longer to maintain the tree's natural silhouette while still allowing light to reach the center.
For horizontal branches, shorten them by ⅓ to encourage bushier growth. If a branch is growing straight up, cut it back to a lateral bud to promote outward growth. This technique creates a more compact, productive tree. After pruning, wipe your tools with rubbing alcohol to sterilize them and prevent cross-contamination of diseases between cuts.
🌱 Step 4: Post-Pruning Care for Recovery
Water the tree deeply immediately after pruning to help it recover from the stress. Olive trees are drought-tolerant, but pruning creates new wounds that need moisture to heal. Apply a layer of mulch (2-3 inches thick) around the base, keeping it 6 inches away from the trunk to prevent rot. This retains moisture and regulates soil temperature.
Monitor the tree for new growth within 4-6 weeks—this is your sign that the pruning was successful. If you see yellowing leaves or wilting, it may indicate over-pruning or stress. In this case, reduce watering slightly and avoid fertilizing until the tree shows signs of recovery. Olive trees respond best to light, regular pruning rather than aggressive annual cuts.
Tips & tricks for dramatic olive tree transformation
Transforming your olive tree with strategic pruning takes more than just cutting branches—it’s about understanding the tree’s natural growth patterns and timing your moves just right.
Timing is Everything: The best time to prune olive trees is during their dormant season, typically late winter or early spring before new growth begins. This gives the tree time to recover before the stress of summer heat. If you must prune outside this window, avoid extreme heat or cold periods, as these can shock the tree. I’ve seen dramatic transformations when pruning in February—just after the last frost but before buds swell.
Tool Selection Matters: Using the right tools makes all the difference. For branches up to ½ inch thick, sharp pruning shears are ideal—they create clean cuts that heal faster. For thicker branches, switch to loppers or even a pruning saw for branches over 1 inch. Always sterilize your tools with rubbing alcohol between cuts to prevent spreading disease. I keep a small bottle of alcohol in my toolkit for this exact purpose.
Visualize the Final Shape: Before making a single cut, step back and imagine how sunlight will flow through the tree after pruning. Remove overly dense growth from the interior first—this improves airflow and reduces fungal risks. Leave the outer branches slightly longer to maintain the tree’s natural silhouette while still allowing light to reach the center. Think of it like sculpting: you’re not just cutting, you’re shaping the tree’s future.
Post-Pruning Recovery is Key: After pruning, water the tree deeply to help it recover from the stress. Apply a 2-3 inch layer of mulch around the base, keeping it 6 inches away from the trunk to prevent rot. Monitor for new growth within 4-6 weeks—this is your sign that the pruning was successful. If you see yellowing leaves or wilting, reduce watering slightly and avoid fertilizing until the tree shows signs of recovery.
Pro Tips for Before And After Olive Tree Pruning
- Transforming your olive tree with strategic pruning takes more than just cutting branches—it’s about understanding th...
- Timing is Everything: The best time to prune olive trees is during their dormant season, typically late winter or ear...
- Tool Selection Matters: Using the right tools makes all the difference. For branches up to ½ inch thick, sharp prunin...
Frequently asked questions
Got questions about olive tree pruning? You’re not alone! Here are answers to the most common concerns—so you can prune with confidence and see that dramatic before-and-after transformation.
When is the best time to prune an olive tree?
Prune olive trees in late winter or early spring (before buds swell) to avoid stressing the tree. If you’re in a warm climate, summer pruning is also safe—but avoid heavy cuts during fruiting season. Never prune in fall or winter in frost-prone areas!
How often should I prune my olive tree?
Young trees (under 3 years) need annual pruning to shape their structure. Mature trees (3+ years) thrive with light pruning every 2-3 years, focusing on dead wood, overgrowth, and shaping. Over-pruning weakens the tree—aim for no more than 20-30% of foliage removed per session.
What if my olive tree looks sad after pruning?
Don’t panic! Olive trees are tough. If leaves yellow (chlorosis) or growth slows, you may have pruned too aggressively. Solution: Water deeply, avoid fertilizing for 4-6 weeks, and prune less next time. If branches die back, trim them in the next pruning cycle—healthy growth will return!
Can I prune olive trees without shears?
While hand pruners or loppers are ideal, you can use clean, sharp bypass pruners or even a well-maintained saw for thicker branches. Avoid dull tools—they tear bark and invite disease. For small jobs, gardening gloves + a sturdy knife work in a pinch (just disinfect the blade first!).
Will pruning increase my olive harvest?
Yes—but only if done correctly! Strategic pruning boosts air circulation and sunlight, which improves fruit quality. Focus on opening the canopy and removing water sprouts (weak vertical shoots). Avoid heavy cuts during fruiting—wait until harvest season to shape the tree for next year’s crop.
Wrapping up and next steps
Pruning your olive tree isn’t just about tidying up—it’s an art that unlocks healthier growth, bountiful harvests, and stunning aesthetics. By mastering the three strategic cuts (shaping, thinning, and rejuvenation), you’ll see a dramatic before-and-after transformation that boosts productivity and longevity. 🌿✨
Now that you’re armed with the know-how, roll up your sleeves and get pruning! Start with small, confident cuts, and don’t forget to celebrate each step—your olive tree (and future harvest) will thank you.
For extra confidence, watch a quick video tutorial or join a local gardening group to share your progress.